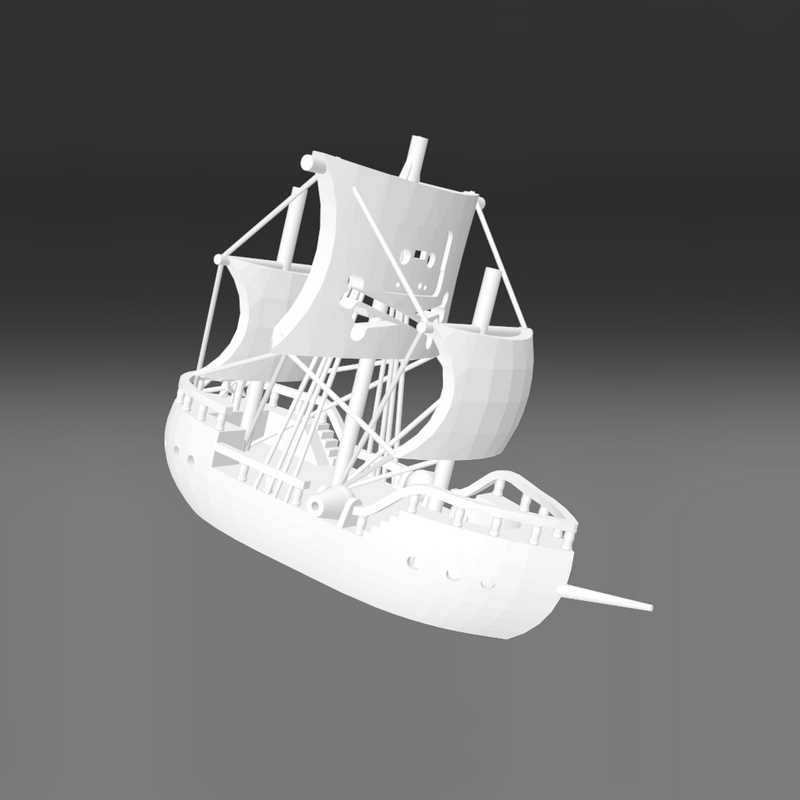
For a fun and engaging craft activity, try using templates to create detailed models of boats and sailing vessels. These designs can be printed and assembled, allowing children to unleash their creativity while learning about different types of ships.
Start by choosing a simple design that includes various parts of the vessel, such as the hull, mast, and sails. These components can be colored and customized, offering plenty of opportunities for personalization. Once printed, cut out each part and assemble them into a three-dimensional model.
Additionally, consider using a variety of materials such as colored paper, markers, and even glitter for a more interactive and enjoyable craft. This can be a great way to combine creativity with a learning experience about maritime history or stories of exploration.
Templates for Nautical Vessel Crafts
Selecting a well-designed craft template for creating sailing vessel models can be a fun activity for kids. Look for designs that feature distinct elements like sails, masts, and the hull, which can be printed and assembled into full-scale replicas. These templates often come with clear outlines, making them easy to cut and assemble. Use colored markers or crayons to decorate the parts before gluing them together to form the complete structure.
For added creativity, consider offering different versions of these templates, such as variations with additional details like cannons, flags, or crew members. This adds extra layers of creativity to the project and enhances the overall learning experience about nautical history. For more interactive designs, consider using different textures like cardboard or fabric to create a more tactile experience for children.
How to Create a Sailing Vessel Craft Using Free Templates
Start by choosing a high-quality template that features a basic vessel design. Many free templates are available online with easy-to-follow instructions. Download the design that best suits the age group you’re working with, ensuring it includes all the necessary elements like the hull, masts, and sails.
Print the design on sturdy paper or light cardstock for added durability. After printing, carefully cut out each piece along the dotted lines. It is a good idea to have safety scissors available for younger children. Make sure the pieces are well-organized before starting the assembly process to avoid confusion later on.
Once all parts are cut out, begin by assembling the main hull of the vessel. Fold along any indicated lines to create the structure, and glue the pieces together. Start with the bottom section and work your way upwards to ensure stability in the finished product. For a more authentic look, consider using glue to attach small fabric or paper flags to the mast.
Next, move on to the sails. Some templates include pre-cut sails, while others might have simple rectangles that can be decorated. Allow kids to personalize their sails with drawings or colors to make the project more engaging. Afterward, attach the sails to the mast using glue or tape, adjusting the angle as desired for a more dynamic look.
For an extra touch, include small accessories like a cardboard wheel, ropes, or a treasure chest, which can be placed on the deck. These small details help bring the craft to life and give children the chance to exercise creativity while learning about nautical elements.
Lastly, let the crafted vessel dry completely before displaying it or using it in play. This process can be made into a fun activity by introducing a small “adventure” story where the children can imagine their vessel embarking on a journey. This activity not only encourages creativity but also promotes hand-eye coordination and fine motor skills development.