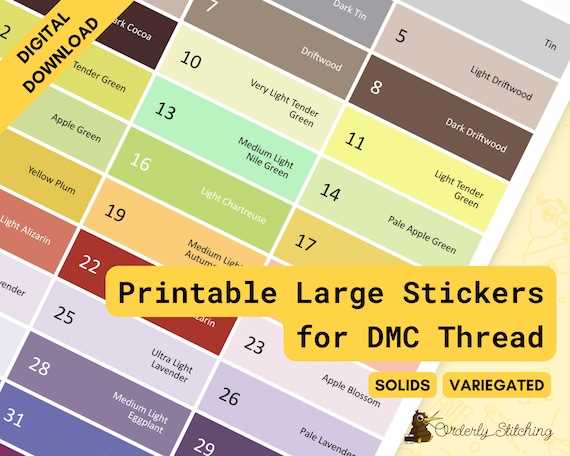
To create eye-catching and functional stickers, it’s important to start with the right kind of materials. Look for high-quality adhesive sheets that are compatible with your printer. Make sure to select sheets that support full-bleed printing, which allows colours to extend all the way to the edges without leaving borders. This ensures your designs look polished and professional, whether you’re making custom name stickers, decorative tags, or organising items around your home or office.
Next, focus on the design process. Simple tools like Microsoft Word or online design platforms can help you create attractive visuals quickly. Consider incorporating icons or symbols relevant to your purpose, like storage-related graphics for organising, or festive themes for seasonal events. Choose colour schemes that not only stand out but also complement the intended use, such as pastel shades for home décor or bright tones for children’s supplies.
Once your designs are ready, double-check the measurements and alignment before printing. Test the design on a regular sheet of paper to ensure it fits perfectly on your labels. When you’re confident, load the sticker paper into your printer and print a test page to ensure everything looks crisp and vibrant. With careful attention to detail, you can create custom stickers for any need, whether it’s labelling gifts, personalising items, or staying organised throughout the year.
Coloured Printable Labels
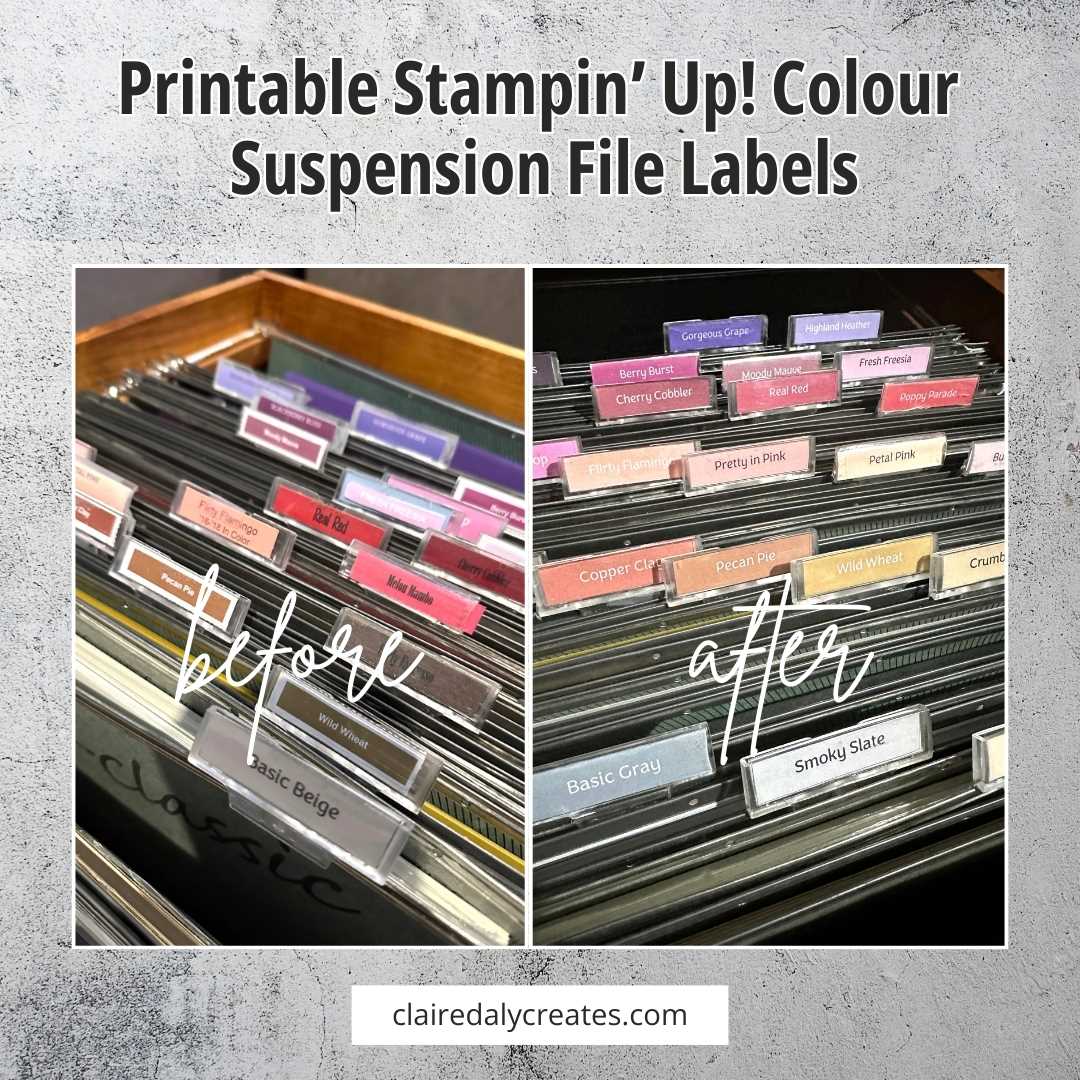
Choosing the right adhesive sheets is the first step in creating visually appealing stickers. Look for paper types that are compatible with your printer model, ensuring the paper’s weight and thickness suit your device. Stick to materials that are designed for high-quality printing to ensure rich colours and sharp images. Depending on the printer, glossy or matte finishes can give you different results, so choose based on your project needs.
For designing, using free online tools or basic software like Word can save time. Create your design by incorporating the desired colours and themes that align with your specific project, whether it’s personal organisation or event branding. It’s important to adjust your design size according to the paper’s dimensions, especially for DIY projects. Make sure the margins are set to avoid cutting off important parts of the image.
When using graphics or icons, simplicity often works best. Stick to a cohesive style that matches the theme–use bright and bold images for kids’ events, or muted tones and simple fonts for office use. This prevents your stickers from looking crowded. Additionally, consider the ease of readability by selecting fonts that are clear and easy to read at smaller sizes, especially for organisational purposes.
Before printing the actual design on sticker sheets, run a test print on regular paper. This will help you verify that everything is aligned correctly and the colours appear as expected. Testing allows you to make adjustments before committing to printing on your sticker material, saving both time and resources. Always ensure that your design fits the page layout to avoid cutting off sections during printing.
After confirming the layout and design, load your printer with adhesive sheets. Be sure to follow the manufacturer’s instructions regarding how to insert the sheets into the printer to avoid paper jams. If you’re using pre-cut sheets, double-check their placement in the printer for smooth printing. This step helps to prevent misalignments, which could ruin the stickers and lead to wasted materials.
Printing labels with vibrant colours requires attention to ink levels. Ensure your printer has enough ink for the job, especially if you’re printing multiple sheets. Low ink can lead to faded or uneven colour output, which would affect the final appearance. For consistent colour quality, use high-quality ink cartridges that are suitable for the type of material you’re printing on.
Once your stickers are printed, it’s time to carefully cut and peel them. If you’re using pre-cut adhesive sheets, just peel off each sticker from the backing sheet. For full sheets, you might need to cut your designs using a paper cutter or scissors. Precision is key to ensure the stickers remain intact and look neat when applied. Allow the ink to dry completely before handling the stickers to avoid smudging.
These custom stickers are great for a variety of uses. Whether you’re organising files, creating personalised gifts, or adding a special touch to your craft projects, they provide a fun and functional solution. With attention to detail in the design and printing process, you can easily create professional-looking adhesive stickers that meet your needs and add a personal touch to any project.