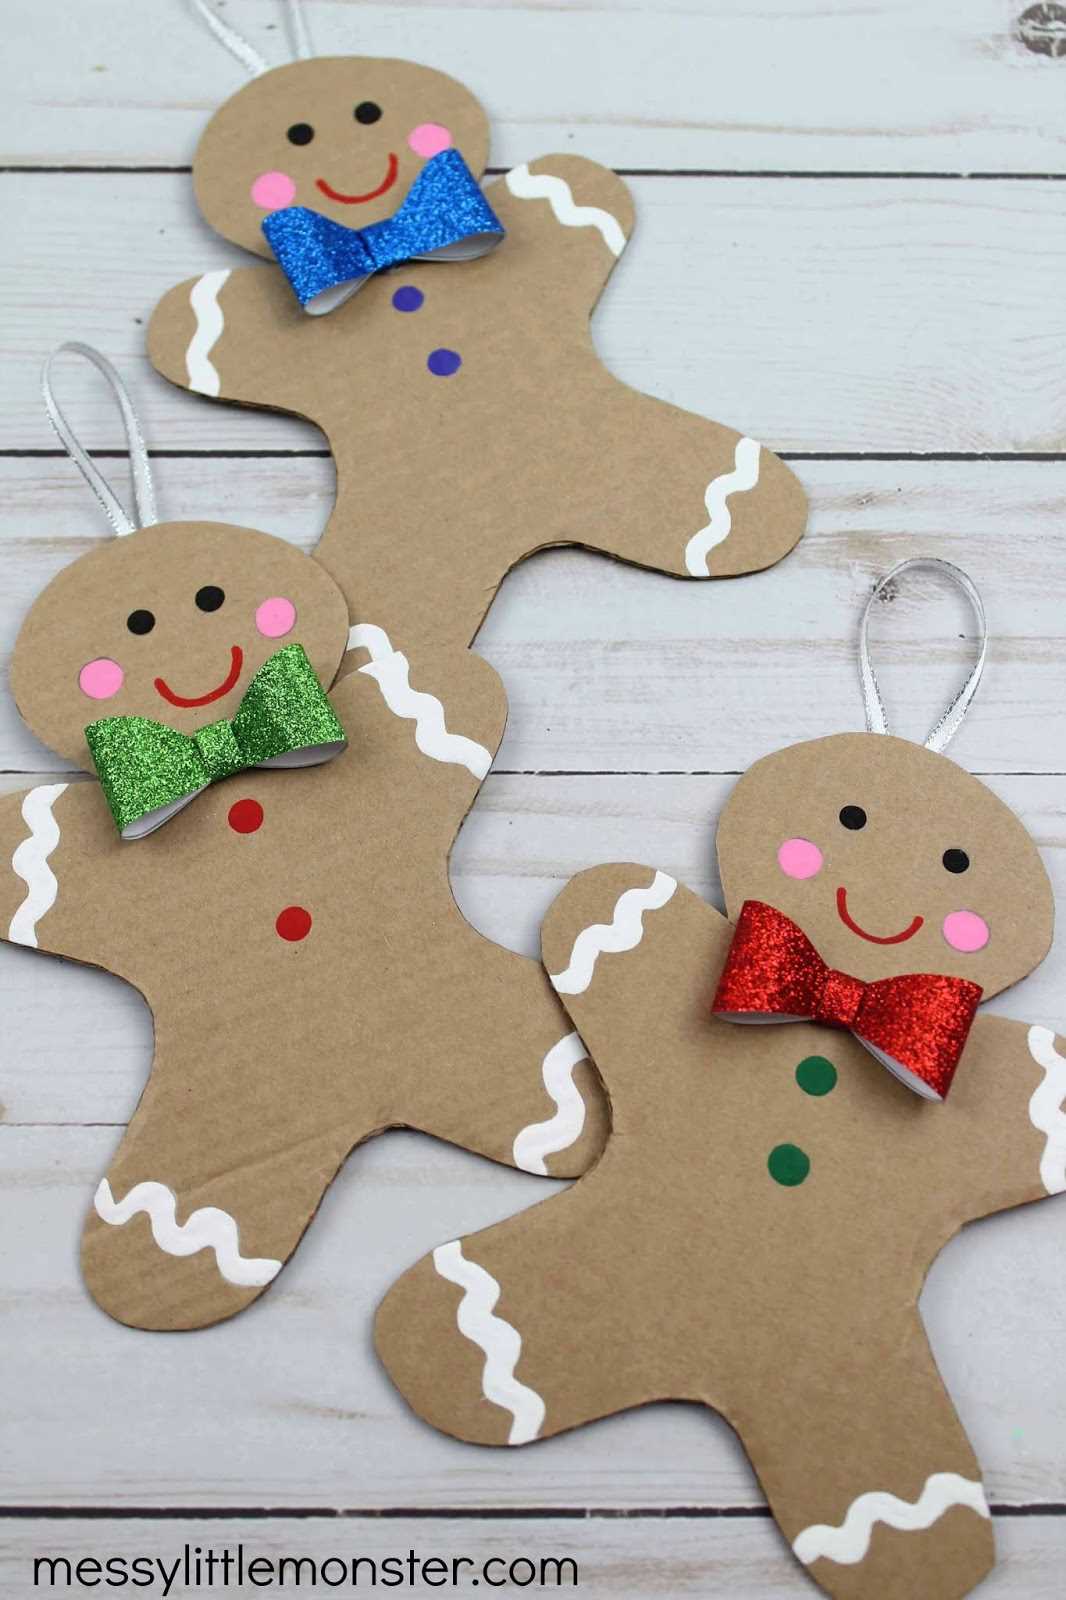
If you’re looking for a simple and enjoyable way to keep kids engaged this holiday season, try creating cookie-shaped figures using basic templates. These figures are a great starting point for a wide range of decorations and are perfect for classroom activities, family gatherings, or just a fun afternoon at home.
To begin, you’ll need to find a suitable design to print, one that has clear lines and is easy to cut out. Use sturdy paper for better results, as thinner materials can tear easily. Once the outline is ready, let your little ones get creative with various art supplies such as markers, glitter, and buttons for a personalized touch.
For an added twist, consider turning the project into an interactive game by asking children to decorate according to specific color themes or patterns. This encourages their creativity and helps them develop fine motor skills. If you’re organizing a group activity, you can set up a decorating station with different tools and decorations, allowing each participant to design their own figure.
Creative Ideas for Cookie-Shaped Figure Projects
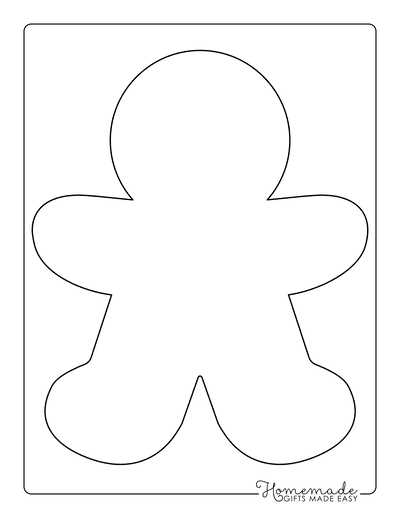
Begin by selecting a template with bold, clear outlines for easy cutting. Strong cardstock or construction paper works best, as it holds up during the decoration process. If you want to create larger pieces, consider scaling up the template and using poster board or similar materials.
Next, prepare a workspace for the kids. Set up a variety of materials for decoration, such as colored markers, crayons, sequins, glitter, and fabric scraps. You can even use cotton balls for a snowy effect or buttons to give the figure a 3D appearance. Allow the children to experiment with different techniques and colors to make each piece unique.
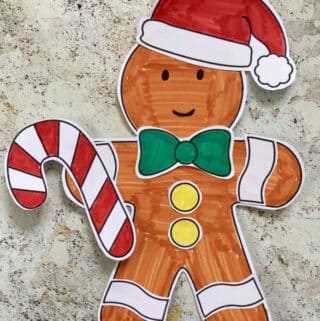
For a fun twist, try cutting out different accessories for the figure, like hats or scarves. You can use additional templates for these elements and let the kids glue them onto the main figure. This way, they can mix and match, enhancing the creativity of the project.
If you’re working with younger children, consider pre-cutting the pieces and providing them with a guided design. They can still enjoy decorating, but without the complexity of cutting. This can make the activity more manageable while still fostering artistic expression.
For a more educational approach, incorporate learning elements into the decoration process. Ask the kids to count how many buttons or stars they used. This helps reinforce basic math skills while keeping the activity enjoyable.
If you’re working on a larger project with multiple figures, set up a display area for everyone to showcase their creations. This adds a sense of accomplishment and gives the kids an opportunity to appreciate each other’s work. A mini exhibition can be a fun way to wrap up the activity.
Another great idea is to use the figures as ornaments. Once the decoration is complete, you can punch a small hole at the top and thread a ribbon through to hang them on a tree or around the house. This gives a personal touch to holiday decorations and serves as a keepsake for years to come.
Lastly, for a more interactive activity, turn the figures into a puppet show. Add some simple facial features or clothes and use them to tell a story. This not only makes the project more engaging, but it also allows the kids to use their imaginations in a fun and educational way.
How to Print and Prepare Gingerbread Man Templates for Crafting
Start by downloading a high-quality outline from a trusted source. Look for designs that are easy to trace and cut. Preferably, use a PDF format to ensure the image remains crisp and clear when scaled.
Once you’ve chosen the design, print it on sturdy paper, such as cardstock, for durability. If you need larger templates, adjust the print settings to scale up the image without distorting its proportions. Make sure to use the “fit to page” option when printing for consistent results.
Before cutting out the shapes, it’s helpful to reinforce the edges with a pencil or fine marker. This will create clearer guidelines for cutting, especially for intricate designs. Use a sharp pair of scissors to ensure clean cuts along the outline.
If you plan to make several copies, consider using a photocopier. This saves time and ensures uniformity across all printed templates. For an even easier process, you could laminate the cutouts after finishing, which allows you to reuse them for multiple projects.
Once the templates are ready, gather a variety of coloring and decorating materials like markers, glitter, glue, and fabric for additional textures. The preparation stage is key to keeping the crafting experience smooth and enjoyable for everyone involved.