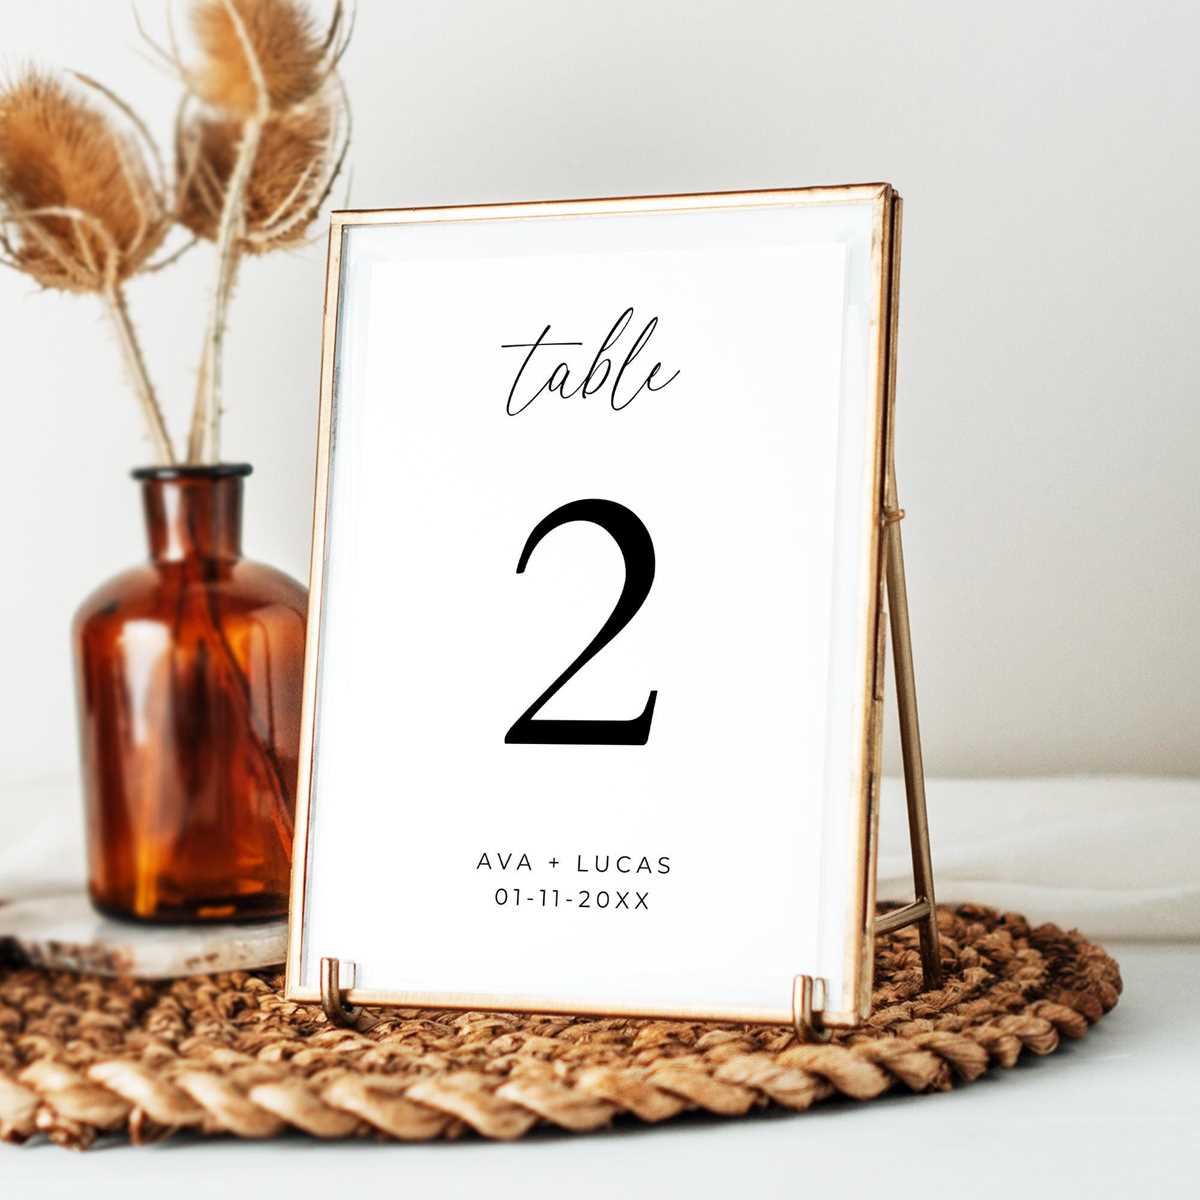
To design seating labels for your event, start by choosing a layout that suits the theme and size of your gathering. Consider using a simple but elegant design that complements the venue’s decor. You can easily find free templates online, which will save time and allow for personalization. Whether you’re hosting a wedding, a formal dinner, or a corporate event, these labels will help guests find their seats efficiently.
If you’re looking to add a personal touch, you can customize the templates by adding your own logos, colors, or patterns. Many design websites offer easy-to-use tools that allow you to create unique styles without needing advanced design skills. Just upload your artwork or select from pre-made options that match the tone of your event.
Once your designs are ready, you can download and print them directly from your computer. For better quality, choose a thicker paper stock or card material. If you’re planning to display these labels on a stand, make sure to adjust the dimensions to fit your holders or frames. With the right setup, these small details can enhance the overall experience for your guests and provide a polished look to the event space.
Table Number Templates for Events
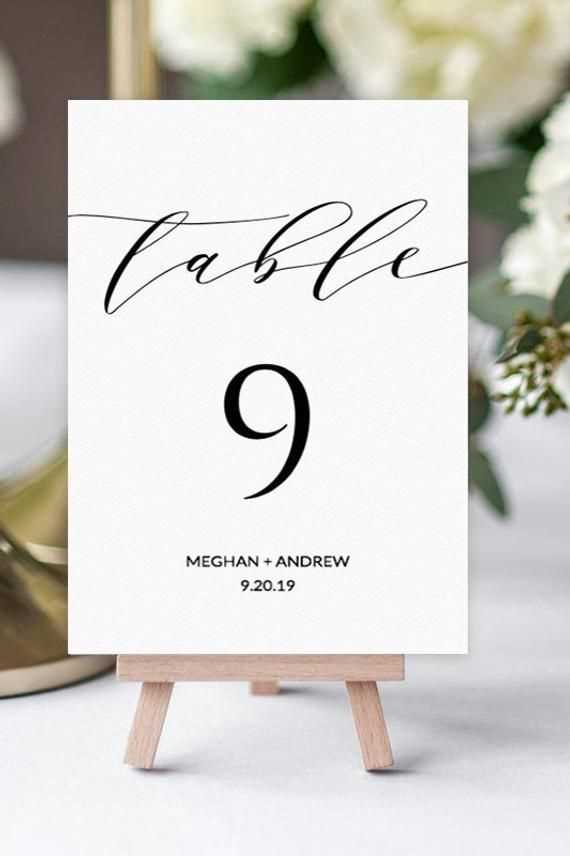
To create cohesive seating arrangements, choose templates that align with your event theme. Many websites offer a variety of designs, from minimalistic styles to more intricate patterns. Select a layout that complements the colors and atmosphere of your event, whether it’s a wedding, corporate gathering, or casual celebration. It’s important to consider how these labels will be displayed, such as on stands, frames, or as part of a centerpiece.
For personalization, many platforms allow you to easily edit templates with custom text, colors, and fonts. You can upload your own designs or logos to give the labels a unique touch. This customization ensures that the labels not only serve their purpose but also match your event’s branding or aesthetic. Keep in mind that readability is key–choose clear fonts and ensure the text stands out against the background.
After selecting and customizing the template, you can download it in various formats like PDF or PNG. This flexibility allows you to print in different sizes depending on your event’s needs. For high-quality prints, opt for a thicker cardstock or glossy paper, which will make the labels look more professional and durable.
If your event has a large number of guests, you might consider grouping tables into categories, like “VIP” or “Reserved.” Some templates allow you to create sections or blocks, making it easier for guests to find their seats. In these cases, color coding or adding simple icons can also enhance organization and improve the guest experience.
In addition to downloadable templates, there are also design tools that enable you to create your own labels from scratch. These tools often feature drag-and-drop functionality, allowing you to adjust every aspect of the label. Whether you’re using pre-designed templates or starting fresh, the key is to ensure that your seating labels are both functional and aligned with the overall vibe of your event.
How to Design Custom Table Number Templates for Your Event
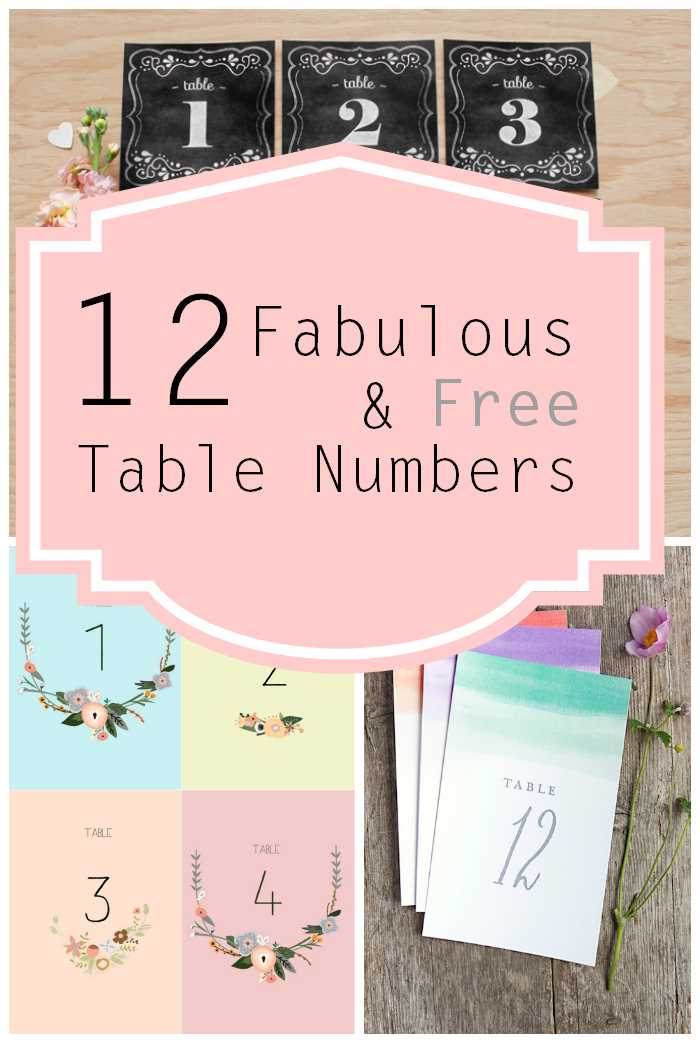
Begin by defining the theme or style of your event. Whether it’s formal, casual, or themed, the design of the seating markers should complement the overall ambiance. For example, a wedding might call for elegant, minimalist designs with soft colors, while a corporate event may require more modern or professional styles. Choose elements such as fonts, color schemes, and graphic designs that reflect the tone of the gathering.
Next, consider the layout and size of each label. A good rule of thumb is to keep the design simple and clear, allowing guests to easily read and locate their designated spots. Many design tools offer customizable templates where you can adjust the dimensions to fit the size of the event space or display stands. Experiment with different shapes, such as rectangular or circular, to find what works best for your setup.
For customization, use online design tools that offer a variety of fonts and graphic elements. Choose a font that is legible from a distance, and avoid using overly decorative fonts that may make the text difficult to read. You can also add design elements like logos, event names, or icons that align with your event’s branding.
Incorporating colors that match your decor can help the seating arrangements blend seamlessly with your event’s theme. Consider using contrasting shades for better visibility, particularly if the markers will be placed in low-light areas. If you’re working with a specific color palette, create design consistency by using those colors for borders, text, or background designs.
Once the design elements are in place, decide whether you want to include any special features, such as borders, images, or patterns. Subtle details like floral accents for a garden wedding or geometric designs for a modern gathering can add a unique touch to the markers. Keep in mind that less is often more when it comes to event design, and avoid overcomplicating the template.
After finalizing your design, preview it to ensure the elements are aligned and proportionate. Print a test version to check how it looks in real life before you move on to the final prints. If you need multiple copies, use high-quality paper or cardstock for durability. If you prefer a DIY approach, you can print the labels at home or visit a local print shop for professional-quality results.
Finally, once your designs are printed, add the final touches. You can place the seating markers on stands, frames, or incorporate them into centerpieces for added elegance. Make sure they are easily visible and accessible to your guests so that they can quickly identify their assigned locations. With a custom design, your seating markers will add a polished and personal touch to your event.