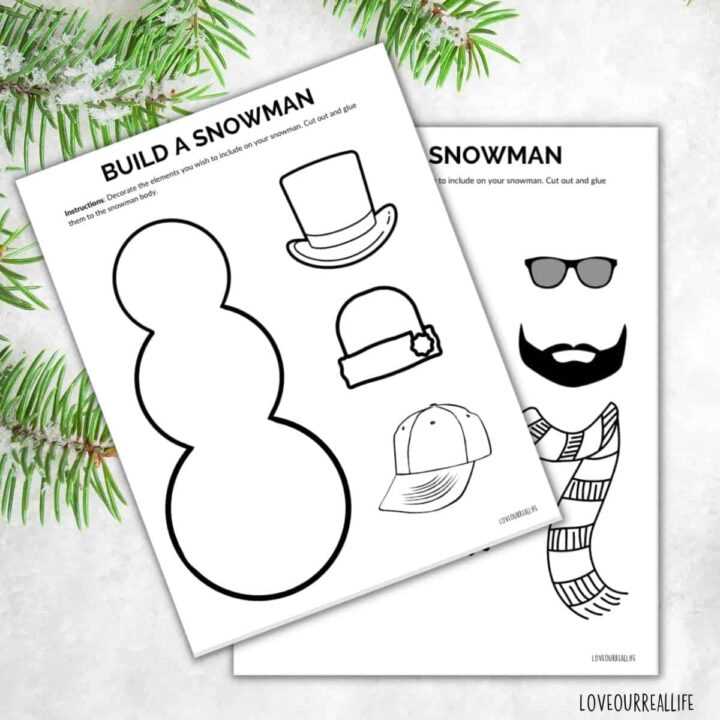
Start by downloading the template to get a step-by-step guide for making a festive decoration. Once you have the design, print it on sturdy paper for a clean finish. Use scissors to cut out the various parts, which can then be assembled to resemble a fun and cheerful figure. This is an easy and engaging activity for all ages, and it’s a great way to involve children in a creative project.
Next, consider personalizing the decoration by adding your own unique touches. Use markers or colored pencils to decorate the figure with scarves, buttons, and hats. You can even create accessories from scrap materials such as fabric or construction paper. By customizing the shapes and designs, you can make your craft truly one-of-a-kind.
To enhance the look, try using different textures for the different components. For example, cotton balls or tissue paper work well to add volume to the figure’s body, while glitter can give a magical effect to the accessories. These small changes will make your creation stand out, and it will be a fun keepsake for the holidays.
Build a Snowman Craft Guide
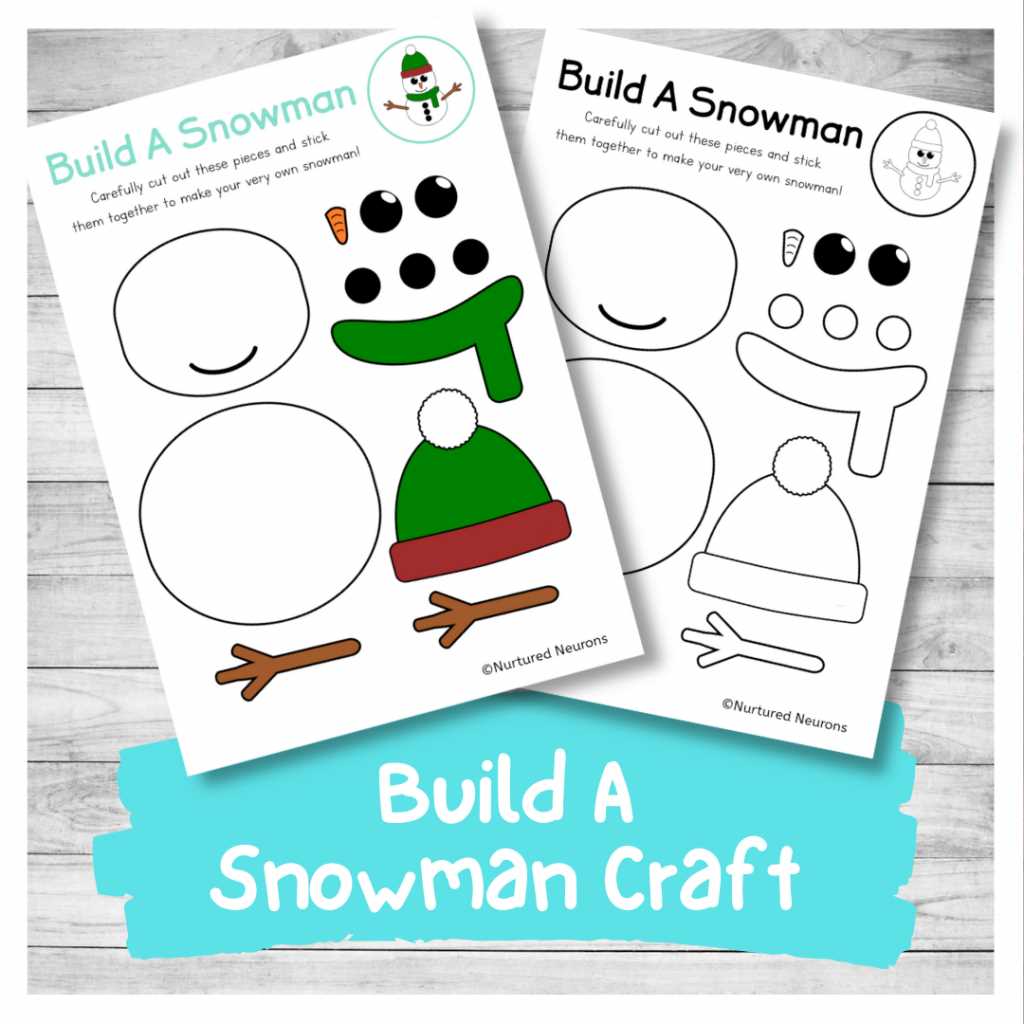
To begin creating your festive decoration, download the template provided. Print it on sturdy paper, ensuring the pieces are large enough for easy handling. Once you have the template ready, carefully cut out the shapes of the body, arms, and other components.
After cutting out the shapes, use glue or tape to attach the parts. Begin by stacking the body components from largest to smallest, ensuring they are aligned properly. Make sure the glue holds each piece securely in place before moving on to the next one.
Next, personalize your creation by adding accessories. Use markers or colored pencils to draw details like eyes, a nose, and buttons. For a more creative approach, use fabric or construction paper to create scarves, hats, or other fun details. This step allows for customization and will give your project a unique look.
To enhance the overall appearance, consider adding texture. You can use cotton balls for the figure’s body, adding volume and a soft feel. For an extra touch of sparkle, consider using glitter or sequins to decorate the accessories or other features.
If you are working with children, encourage them to explore different designs. Have them add extra elements like hands made from twigs or a hat made from paper. This is a great way to engage their creativity while giving them the freedom to personalize their creation.
Once completed, display your project in a visible place to enjoy throughout the season. You can also use it as a holiday gift or add it to a festive display. This simple craft can be a fun way to celebrate the season and bring some holiday cheer into your home.
How to Download and Set Up the Template
Start by locating the desired design template. You can find it on various websites offering free downloadable content. Make sure to select a high-quality file, such as a PDF or image format, to ensure clarity when printed.
Once the template is chosen, click on the download button. The file should automatically save to your device’s default download location. If you use a browser like Chrome or Firefox, you may be prompted to select a specific folder for saving.
Before printing, open the file to check the size and ensure it matches your paper dimensions. Most templates are formatted to fit on standard letter-sized paper (8.5 x 11 inches). If necessary, adjust the settings in the print dialog box to ensure the image fits correctly on the page.
Next, load your printer with the appropriate paper. For the best results, use heavier paper or cardstock, which will provide more durability for your creation. Make sure your printer is connected and ready to go before selecting the “Print” option.
After printing, carefully cut out the shapes provided in the template. Use scissors or a precision craft knife for cleaner edges. If the template includes additional details like accessories, take your time to cut those out accurately as well.
Once all pieces are cut out, proceed with assembling them using glue or tape. This is where you can get creative, adding extra features such as eyes, buttons, or accessories to make your craft unique and fun. Enjoy the process and customize it to your liking!